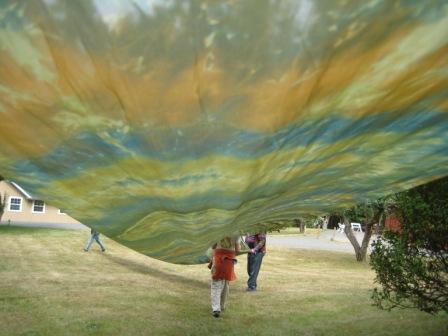
 Once the looong piece of fabric was washed and dried we had a great time playing with it. Here are some photos.
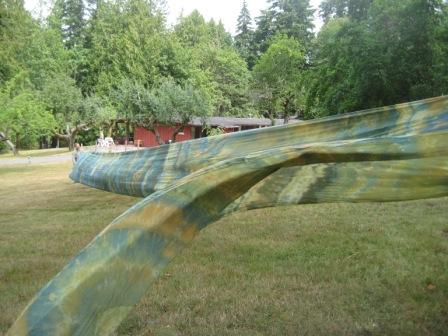
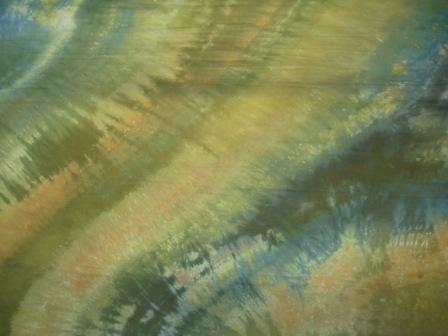
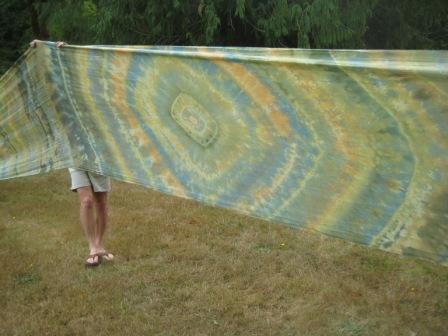
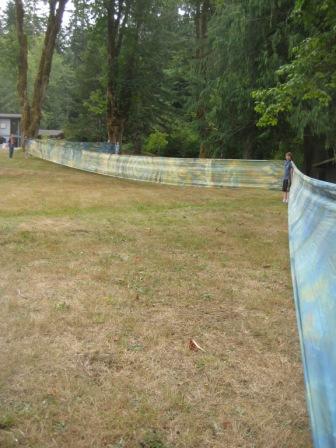
 Once the looong piece of fabric was washed and dried we had a great time playing with it. Here are some photos.


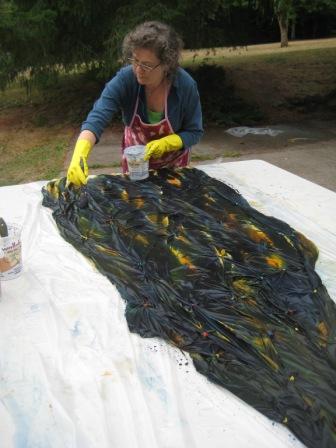 I dyed one very long piece of fabric this Summer, 150 feet to be exact, one 50 yard bolt of silk habotai. My plan was to bring it to Burning Man where this year’s theme was Evolution. I wanted to create something that had a narrative, even if very abstract, but there were challenges in the process. One challenge was simply time, I had just a few days to fit in the project as I spent my Summer either out of town or working on my pieces for the MadArt exhibition. Although I would have like to use soy wax batik to add pictoral and linear elements, I just couldn’t figure out just how I was going to remove the wax out of that much fabric within my time frame. Our final solution was to use multiple shibori techniques and gradation of color over the length of the fabric. With my husband as an assistant, we bound and dyed the fabric one day, batched it overnight, and washed it out the next day.
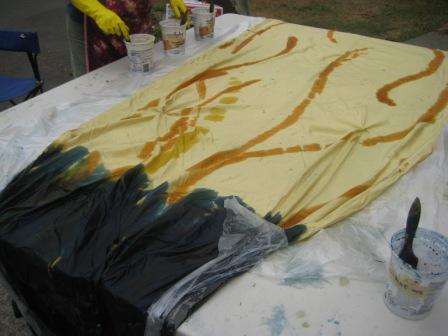
painting dye on one section of the piece
I used a palette of colors intended to blend with the colors of the playa, the ancient dry lakebed that is called the Black Rock Desert, where Burning Man takes place. I predyed the fabric a warm neutral in the washer before applying any other color.
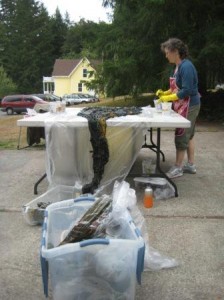
the fabric during dyeing
The shibori techniques we used included rubber bands for small and large circles, and low-water dyeing techniques where we pleated or scrunched the fabric. We also painted the dyes directly on the fabric. Because I working exclusively with silk, I used an acid fixative (citric acid crystals) instead of an alkaline “fix mix” of soda ash and baking soda. This worked great with most of the dye fixing and hardly any wash out.
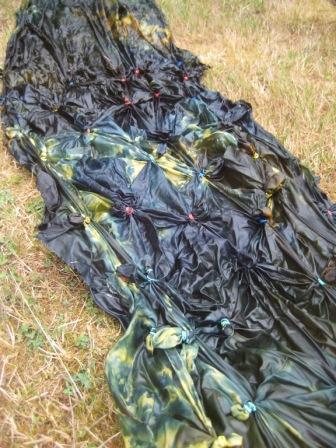
rubber bands still in the fabric
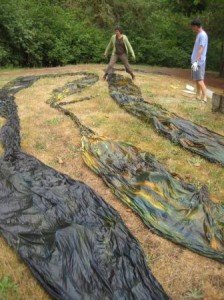
rinsing out one looong piece of fabric
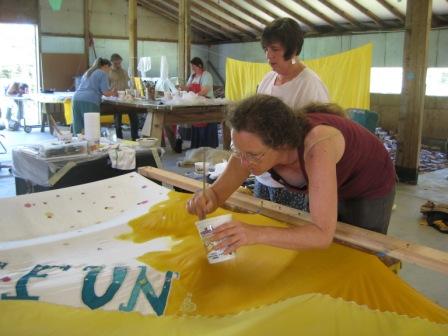
In May I was invited to teach a batik workshop on the site of the Oregon Country Fair. I love the Fair and it was a great chance to meet people and pass on skills to people. Expect to see a lot more batiked silk in Chela Mela Meadows this year!
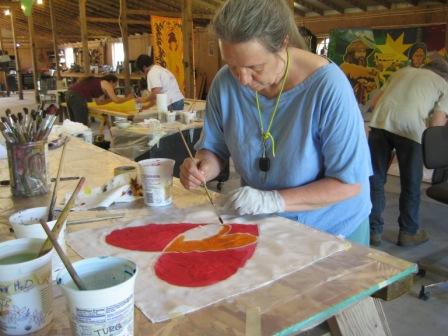
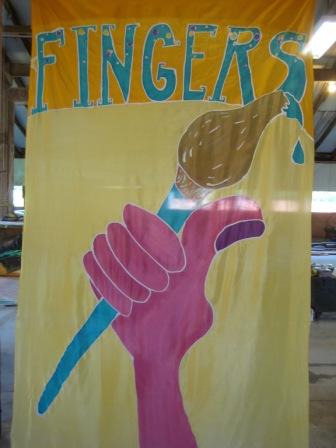
Backdrop for Five Fingers of Fun
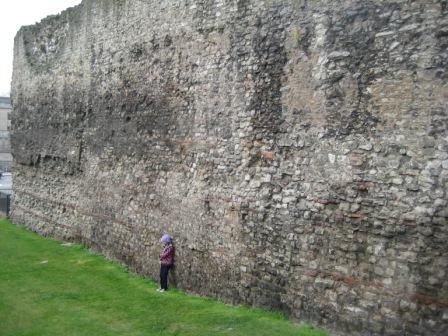
Ancient Roman Wall
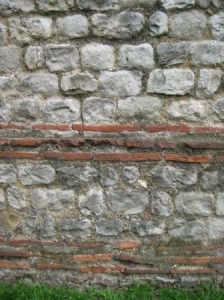
Roman wall
On our recent trip to London, I was inspired by the ancient surfaces that surrounded us. Just walking down the street you come upon walls that have stood for over 1000 years, or buildings that were damaged by mortars during WWII. The depth and breadth of history is astonishing for people from our young upstart of a nation.
And yet London is an incredibly vibrant and contemporary city festooned with building cranes. Although many of the cranes have been stilled by the current economic situation, the city is a swirl of people of all colors, speaking many languages, as they rush from place to place.
I found myself thinking of my current body of work, the Artifacts. In these pieces I have been striving to get the feeling of the touch of an ancient hand lovingly creating items for daily use. These surfaces I was seeing, touching, and walking upon in London had the same feeling for me. The care and craft evident, the daily use assumed through the abraded surfaces, they were in plain view yet, in many cases, unremarked.
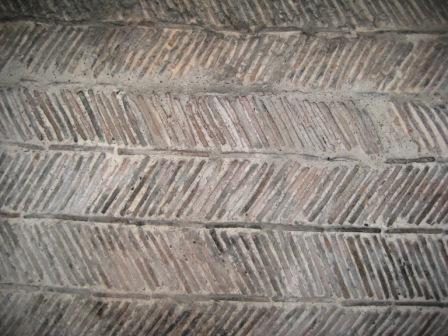
wall at the Tower of London
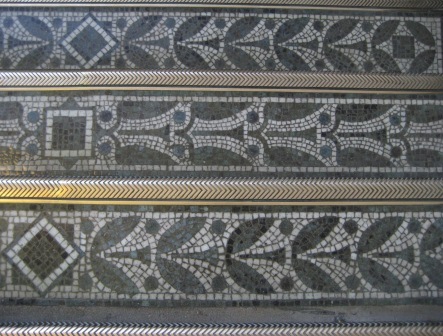
mosaic floor at the Victoria and Albert Museum
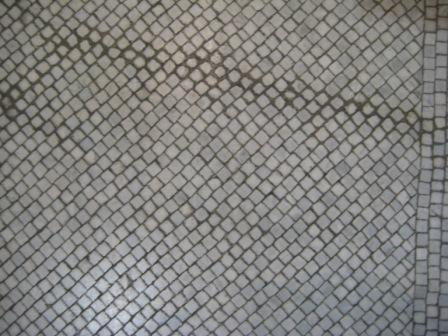
mosaic at the V & A
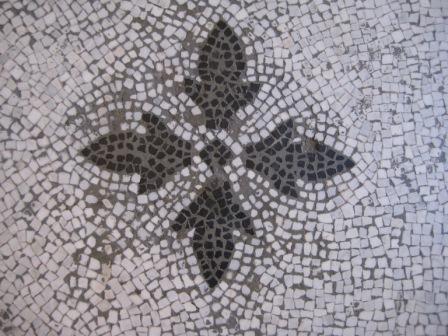
mosaic at the V & A
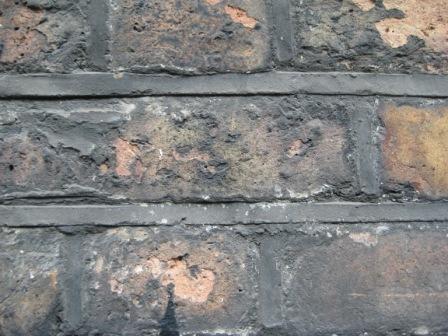
the brick wall outside our flat
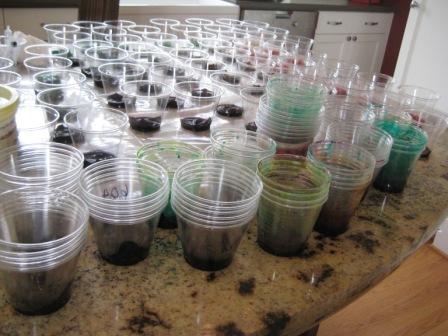
132 little dye baths
My recent work has all been using earth tones and neutrals. I’ve been using premixed dyes from Dharma and Prochem but have been thinking about exploring how to create all those browns myself. This week I’ve been home with a sick kid and with left over dyes from a scarf dyeing class I taught last Friday. Voila! The perfect time to mix up 132 little dye baths.
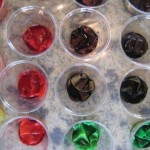
dye baths in plastic cups
I made two sets of triads, each using three primaries. One set used Sun Yellow, Mixing Red, and Mixing Blue. The other used Turquoise for the blue. The results were quite interesting and I found it a really valuable exercise. My husband says I’m a “dye nerd” and I think he may be right!
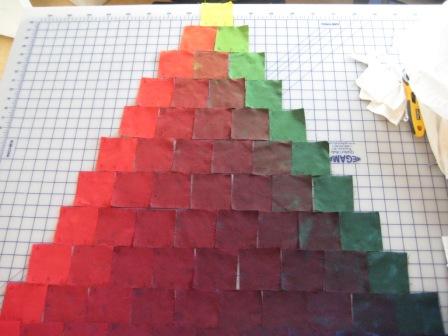
sun yellow, mixing red, and mixing blue
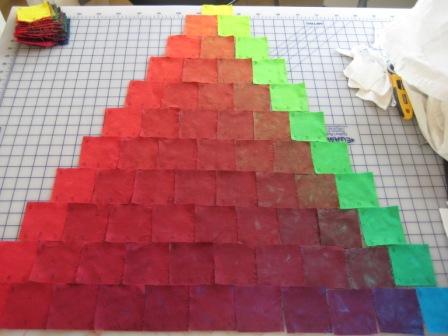
sun yellow, mixing red, and turquoise
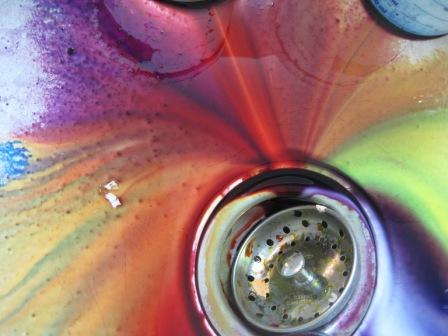
Here’s a picture of what happens when I pour extra blue, red, and yellow dye down the drain. So many intermediary colors.
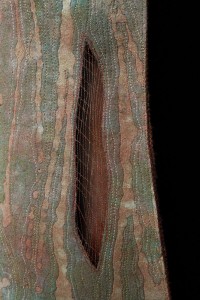
Earth Form Five, detail
My work is informed by my exploration of surface design on fabric. I begin with white or black natural fiber cloth which I then dye, discharge, print, paint, and resist. I find these processes endlessly rewarding and I enjoy the challenge of finding the correct solution for each piece. Patterning, forming, and finally stitching bring each work to completion.
This body of work is inspired by the landscape that surrounds us and the touch of human hands upon it. These influences, nature and civilization, and the passage of time overlap and intertwine in the pieces represented here. The titles, numbered instead of named in most cases, allow the viewer to make his or her own association of the work to the natural world.
The Earth Forms are a direct response to my experience of nature. The cracked strata of sedimentary rock in a cliff face, the whorl in a piece of driftwood, the line of color in a beach pebble, the force of a mushroom as it bursts from the forest floor: all these details come into sharp focus in the light of our gray winter days. Each form is a document of the passage of time.
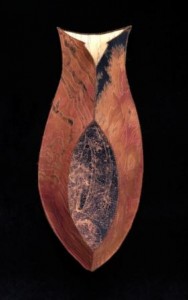
The Artifacts interpret these natural forms and textures through the lens of culture. Shield, basket, urn, or offering, each one is marked by an ancient civilization, an imagined series of Rosetta Stones discovered by an archaeologist’s assistant.
Breakup is a response to the quickly disappearing polar ice fields. The heavy hand of global warming is our civilization’s signature on the land in the coming age.
The Seen/Unseen panels were displayed in Fall 2008 as part of a larger installation for Sound Transit’s Start on Broadway. They panels represent civilization degraded over time, architectural details abstracted and crumbling. Crows fly past, one of few representatives of wildlife in our urban lives. These images which are symbolic of transformation are so pervasive that they are seen, yet unseen.
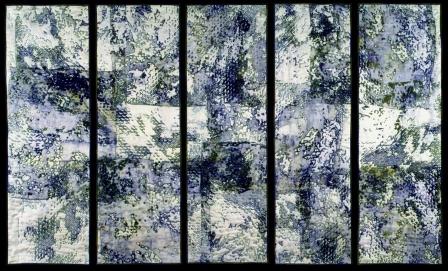
Breakup
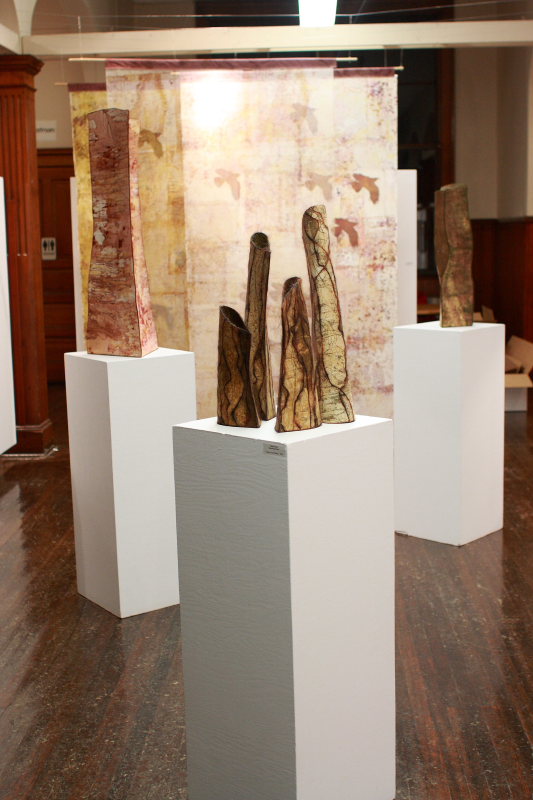
Hanging the Phinney Show was an interesting experience. After putting so much work and time into each piece it was now time to turn it over to someone else’s vision. I felt lucky to be at the hanging, many artists don’t get to participate in how their work is hung.
The Gallery coordinator, Jeanne Dodds, was lovely to work with, very open and communicative. Ann Maki, the other fiber artist in the show, and I had met in September to decide on the theme for the show. The three of us met at the Gallery in December to discuss the division of the space between the two artists and any special needs we would have for hanging our work.
 When the date came to install the work I was surprised to find out that there was a volunteer photographer, Elisa Sherman, there to document the installation for the Phinney blog. She took some really great photos (seen here) and I got to feel like a rock star!
I had planned from the beginning to be there for the installation because we were hanging the big panels from Seen/Unseen. Jeanne hung some wires ahead of time and it was easy to suspend the pieces from them, but you never know if some problem will come up when installing big pieces. There were four great volunteers from the Phinney Center also there to help and the whole thing went very smoothly. It was a great experience. Thanks to the Phinney Neighborhood Center for being a place for art.
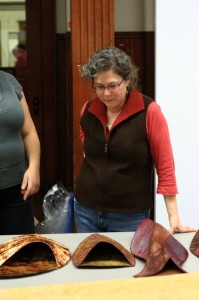
Deciding where to hang each piece.
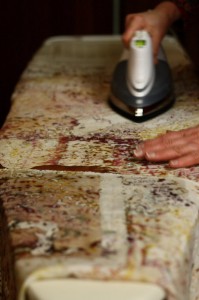
A volunteer pressess the panels before hanging.
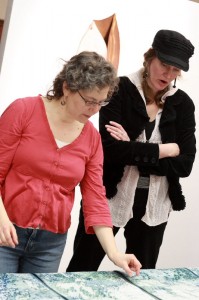
Jeanne Dodds and I consult on hanging Breakup.
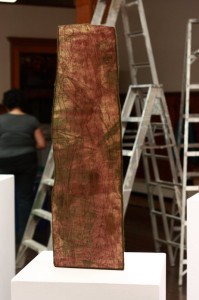
Adjusting the lighting.
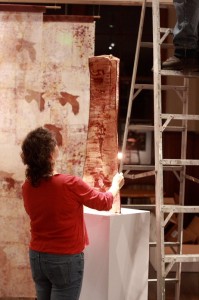
Adjusting the lighting.
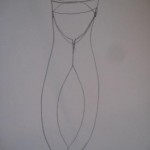 There are a number of steps in my technique of making a 3-d fiber sculpture. I generally start with my sketchbook. I make lots of sketches when I’m planning a new series.
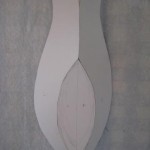 Once I have a sketch that I like I make a paper model. I use tagboard, which is thick enough to have some body but thin enough to be flexible. I just tape it together as I go, taking it apart and reshaping it until the whole thing works. Working in paper gives me a chance to work out the details before I commit to the time and materials involved in a finished project.
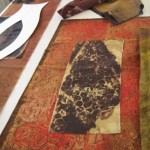 When the pattern is complete I cut out the pieces in Peltex, or some other non woven stiff interfacing product. Next I select my fabrics.
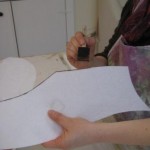 Before I go any further, I paint the edges of the peltex in a color that goes with my fabrics. It’s a very thin edge, but if it’s white it will really stand out.
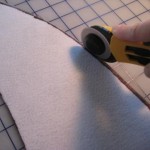 Next, I make a “sandwich” of the peltex and the fabric. I use a iron-on adhesive, like mistyfuse, to glue the fabric to the lining. I trim the edges of the fabric as I go. Once the sandwich is ready to go, there are five layers altogether: outside fabric, adhesive, peltex, adhesive, inside fabric.
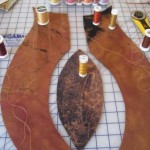 Once the sandwich is complete I choose my threads and free-motion stitch the piece.
The very last step is the sew the piece together. I use a zig zag stitch when I want the pieces to lay next to each other, and a regular straight stitch when the pieces overlap.
I just dropped off seven boxes of art for the Phinney show. I feel such a sense of lightness!
 follow: