Category Archives: Work in Progress

Slush Bound

IMG_2386

It’s 40 degrees and raining in Seattle, a weather report that most of us here take comfort in, even though it’s not in the least bit “nice” weather. But the snow is turning to slush, people are driving again, and life is beginning to return to normal. The kids are STILL home from school and I’m still home with them.

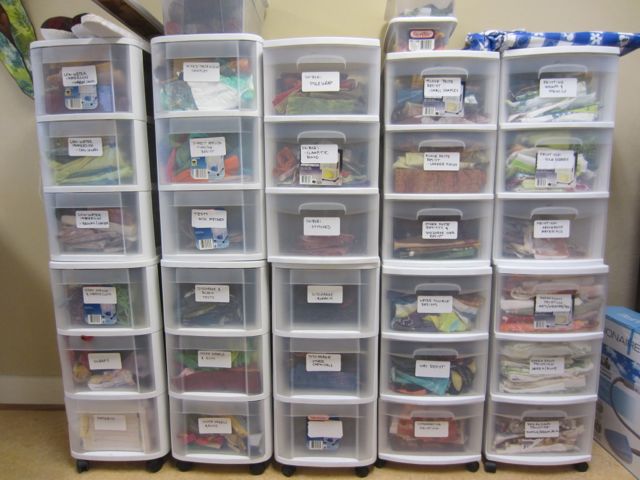
So what to do with my time inside these walls? Organize my fabric storage, of course!

I’ve got a finite space for storage and it was overflowing. I decided to put the last of my commercial fabrics into deeper storage. I’ll still keep them, there are some nice fabrics and the kids like to do sewing projects, but I don’t need easy access to them. I sorted, shuffled, organized and labeled much of the day yesterday. My dyed fabrics are now neat and easily accessible. And I’ve still got room for more!
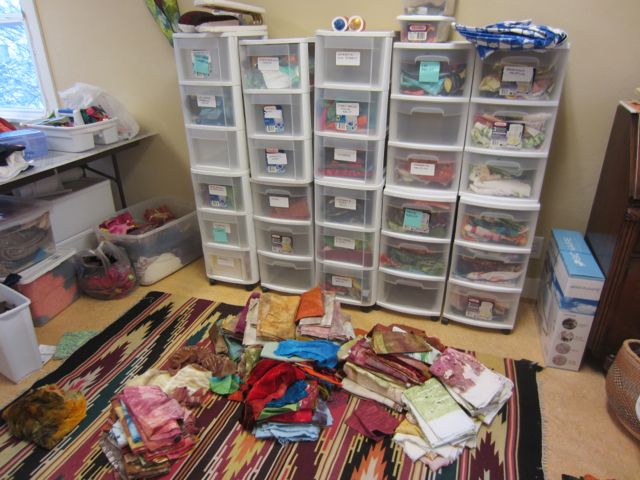
before
before

after

after

Just Keep Swimming

Stone Mother Two

Stone Mother Two

The last piece I finished for the January show at Foster/White Gallery, Stone Mother One, I delivered just an hour before they closed for the holidays. At that point I was exhausted, my in-laws had just come in to town, and it was in the middle of the holidays. I told them at the gallery I just wasn’t going to be able to finish the other piece in time for the January 5th opening.

But after a few days at home with the in-laws watching tv and my kids watching youtube, spending time at the studio didn’t seem like such a bad idea. A few hours there made me think I might be able to get the piece done after all. Not for Monday, January 2nd or even for the 3rd, but maybe for Wednesday afternoon or even Thursday morning of the opening. However, I couldn’t ask the gals at the gallery because it’s closed until tomorrow. I sent them an email and I’ve been working away but I may hear from them that that delivery date is just too late. If so, I’ll stop pushing myself so hard and they can have the piece for the back room gala mid-January.

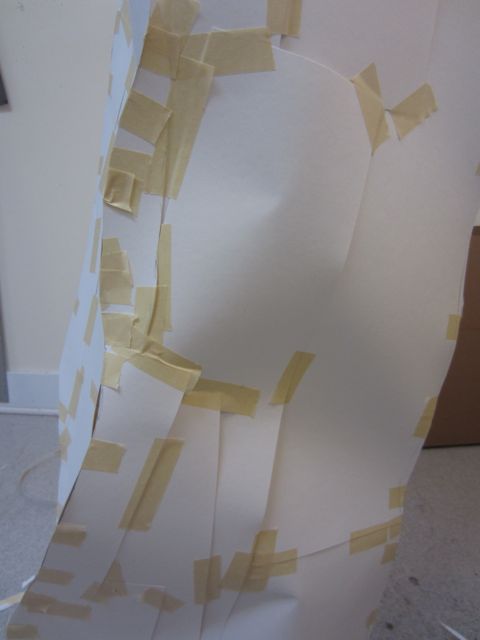
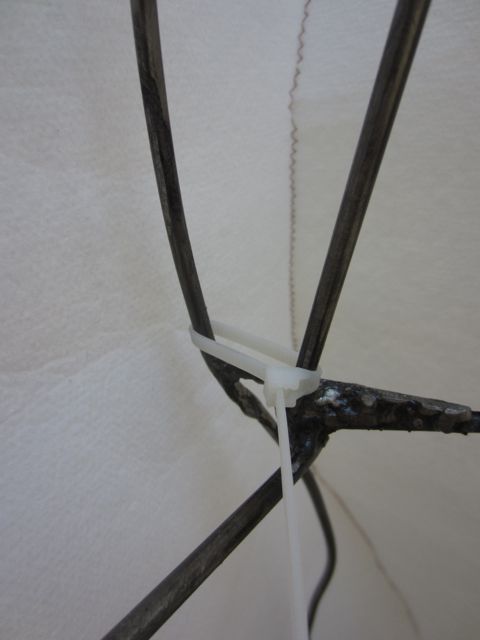
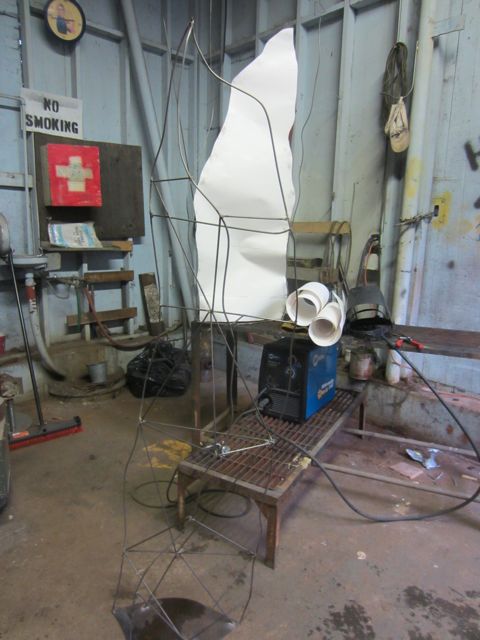
Part of the reason I thought I couldn’t get this piece done was that I was having trouble with the welded frame. It just wasn’t quite right and I knew I was going to have to monkey around with the pattern to get it to look good. I went back to the paper pattern, cutting and taping and tweaking it to make the shape look balanced and the curves make sense. It was hard and not much fun. I actually took a hack saw to the steel frame and bent the metal back in one spot. At one point I seriously considered turning it into a garden trellis. But slowly it began to make sense. Ultimately, will it be worth it to finish this piece or will I always think it’s not quite right? No way to know without finishing it.

cutting and taping and tweaking

cutting and taping and tweaking

my hack saw job

my hack saw job

So I just keep working. After all the effort that I’ve put into the piece already I want to get it done. I designed it to be a companion with Stone Mother One and I’d be disappointed if it didn’t finish it because I took a few days off.

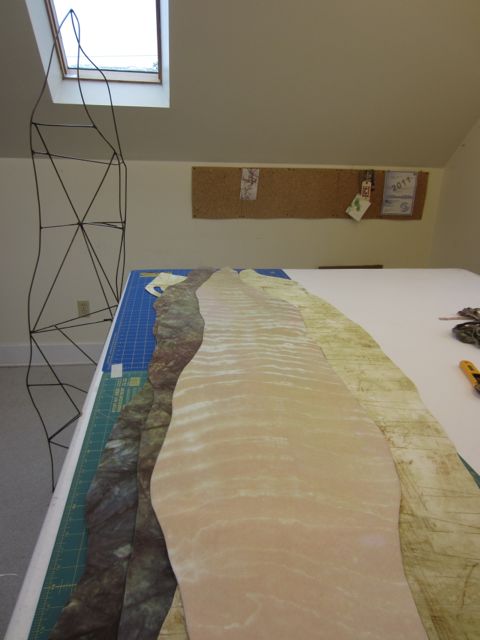
Today I got the fabric panels done and started on the stitching. Tomorrow more stitching. Wednesday should be stitching the panels onto the frame. Delivery Wednesday afternoon? Maybe, that is, if everything goes according to plan.

can I turn this into a finished piece in 3 days?

can I turn this into a finished piece in 3 days?

Adding Stitch

IMG_2168

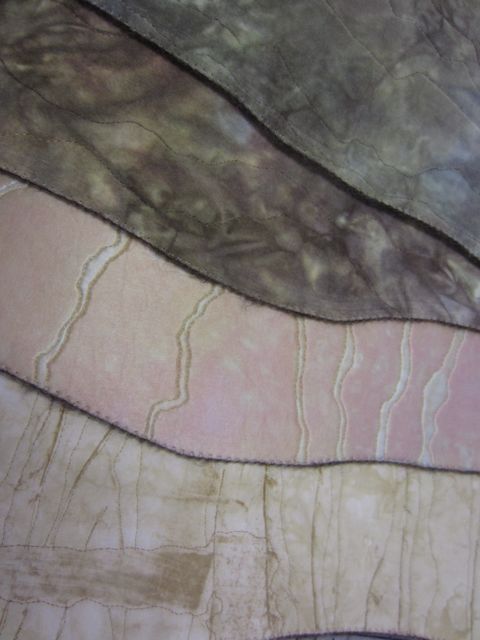
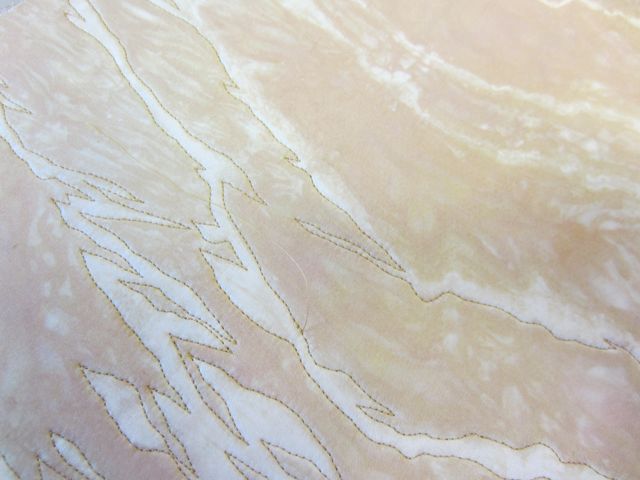
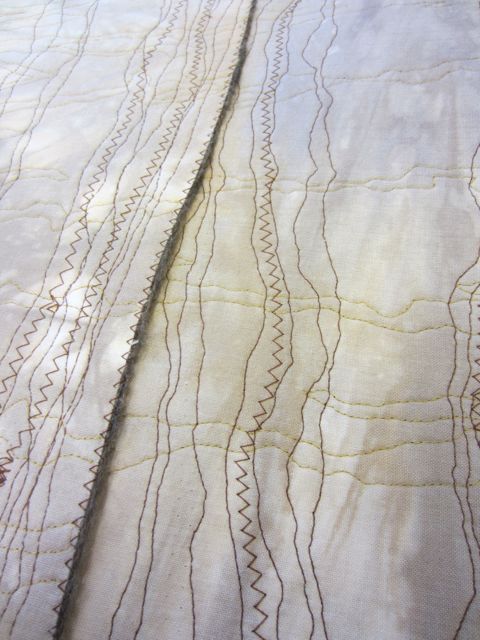
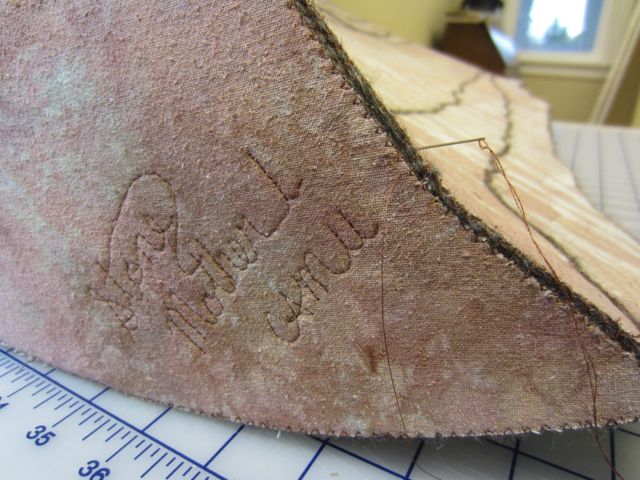
I’ve gotten a little behind in my blogging. These are photos from a few days ago when I was adding stitch to the panels. In the shibori fabric above the stitched line adds both contrast and definition. Below you can see the inside of the back panel which will be hidden in the finished piece. And the bottom photo shows the bottom of the piece with the title and signature.

IMG_2212IMG_2213

Now You See It

IMG_2151

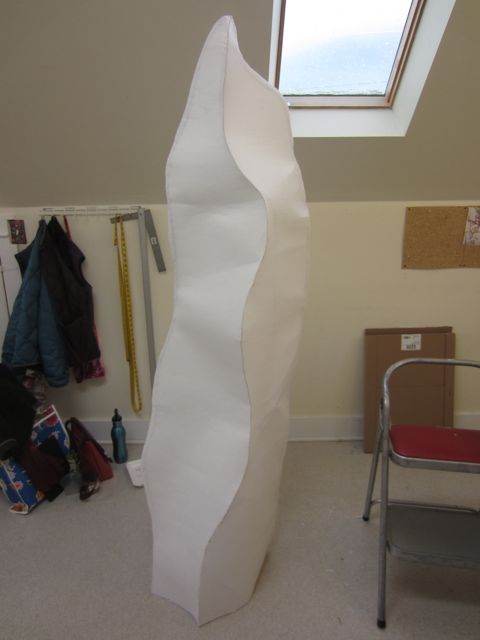
I’ve been fitting the peltex skins to the steel skeleton. Stitching and trimming as I go. I love the interior structure of this one, the angularity of the lines makes an interesting contrast with the smooth whiteness of the peltex. And then it disappears into a curved, blank form.

There’s a satisfaction in getting it to this stage but it’s short-lived. The next step is to take the panels off the form so that I can add fabrics to them. My husband was asking me if this part isn’t an extra step. I told him it’s like a second or third draft when you’re writing. You know it’s not the final, but it’s a necessary step toward getting there.

stitching on the base

stitching on the base

the completed form in peltex

the completed form in peltex

Paper

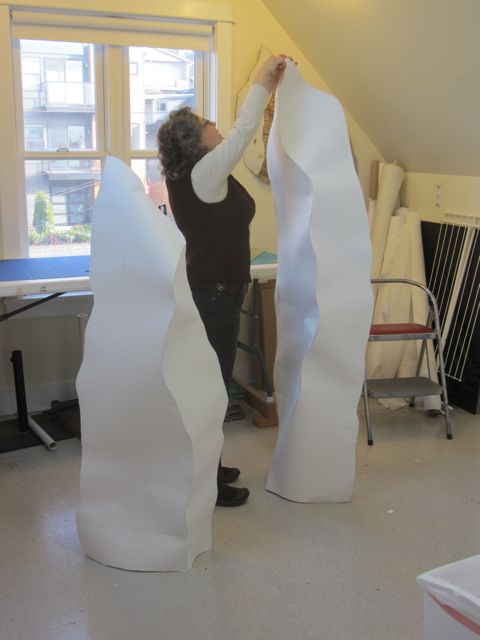
fitting paper patterns to the steel frame

fitting a paper pattern to the steel frame

I’m going through a lot of paper figuring out how to work with these steel forms.

First, I made small paper maquettes. Then I made full-size paper models. Then I made a second set so that the welder had both 2-d paper patterns and 3-d full-size models for reference when making the steel frames. Now I’m remaking the paper patterns to fit the steel forms which, although they are close, are not exactly the same as the originals.

Lots of paper.

Endings and Beginnings

draped piece, front

draped piece, front

I picked up one of the welded forms today. It looks good. Steve is really figuring out how to craft these crazy forms.

I’ve been a little nervous about how to move forward. I’m stepping outside of my process and having to figure things out all over again. Usually I’m working with two-dimensional patterns that become three-dimensional when I join them together, much like a dress pattern. Now I’m creating a skin to cover a skeleton.

Life has been very full lately: we’ve been doing a small remodel to our house for the past six weeks.  And this week my daughter’s pet guinea pig got sick. Both of those things came to a end today. Our contractor finished the job, took his tools, and moved out. Yay! And I had to have our sweet little guinea pig, Oreo, put to sleep. Very sad.

So between going to Home Depot to get cabinet door pulls and going to the vet there wasn’t much time for the studio. I did squeeze in an hour, though. I had to drop off the steel form and figured, while I was there, I’d iron some of my new dyed fabrics. With a few extra minutes I started considering which fabrics went together for the new pieces.

As I was laying them out I realized I could drape them over the form and look at them in three dimensions instead of two. What a revelation! I felt like I was on Project Runway.

I was quickly able to drape fabrics over the form and use binder clips to hold them. Usually, choosing fabrics is a laborious process of smoothing the fabrics out on the table, framing them with paper outlines, climbing on a stool to see them from above, then folding them up to try a different combination. This was so fast and so much easier. I decided on my fabrics in a few minutes instead of hours!

It was an encouraging start. Maybe I’ll be actually get these new pieces done before the holidays, after all.

and back

and back

Contrasts

welded

I went by Steve Anderson’s shop yesterday to check out the progress on the steel frames he’s making for me. His shop is such a contrast from my studio. It’s all fire and metal, grease and dirt. It’s such a contradiction to the soft silks and velveteen that I work with and which will be the skins on these skeletons.

The forms are looking good and should be ready for me to pick up today. I’m not used to seeing an interior structure for the pieces. It confuses my eyes to look at them. And yet, there they are in metal from the inside out!

I’m looking forward to the next steps with a little trepidation. I wish I had more time to figure out this new process without a looming deadline. Oh well, it’s just the push I needed, really.

Here we go . . .

More Earth Tones, Please

IMG_2087

I’ve been dyeing lots of fabric while I’m waiting for my  new big forms to come back from the welder. About 26 yards, as a matter of fact. I’ve been working with a palette of five colors and three techniques: low-water immersion, pole wrapped shibori, and flour paste. I set the flour paste up over the weekend. I applied the flour to one two yard piece each day because of space limitations. By today I had three pieces dry and ready for dye. Tomorrow I’ll dye the last one and have the dubious pleasure of washing out the flour. It’s a messy task but worth it. I sure do love the organic crackly effect I get from it.

IMG_2099

Growing Tall

IMG_2047

Okay, these are definitely big!

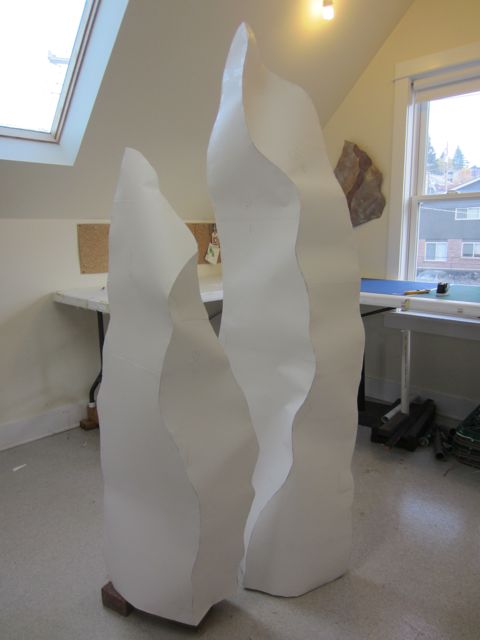
These are the large versions of the maquettes I wrote about in my last post. And the lesson learned is that, no matter how much you think you’ve got it figured out, it’s just not easy to scale up.

My process was to trace the patterns of the maquettes, reduce them at the copy shop, transfer them to transparencies, and then enlarge them with the overhead projector. Simple, right?

Well, actually, no. It’s taken me much longer than I thought it would to get the patterns to fit right and to look like the maquettes. And then, even though I kept trying to ignore it, I finally had to admit to myself that the small one needed to be bigger. Grrr! More cutting, adding, and taping and I still don’t have it quite right.

I’m getting close, though. Anna and Paul, my studio-mates, took a look today and gave me some good suggestions for tweaks on the shapes. I’m hoping to get these full size models done tomorrow. Then I’ll take them apart, make new paper patterns, and tape them back together. Then I can bring them to Steve so that he can start working on the welded skeletons.

Even though it’s been a bit frustrating in the studio the last few days I’m actually really happy with the way these are turning out. They certainly fill the room and the negative spaces they form are pretty compelling. I’m glad that Jessica and Phen at Foster/White gave me a push to explore working at this larger size.

It feels like the start of something big.

smaller form before it grew 2 inches

smaller form before it grew 2 inches