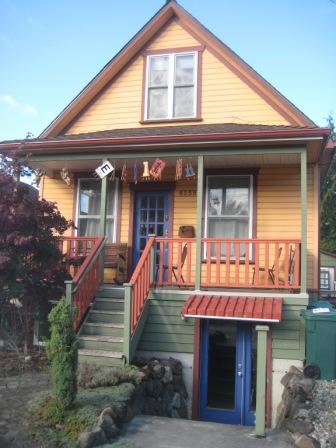
 I have the extreme good fortune to have two studios, one inside my home where I do all my sewing and one outside the home.
Easelstan, a house converted into art studios, is where I do all my dyeing and construction and also store my past projects. There are five artists with studios in the building and we have a great collegial relationship. We do a weekly crit group, rotating among us. I’m the only fiber artist, but I find the feedback of my studiomates across mediums is really helpful.
My studio is in the converted attic space. It’s about 250 square feet but has several challenges. One is the stair well in the center of the space and the other is the sloped walls. Being short, I have a fair amount of usable floor space and when the owners created the studios they brought the walls in to create storage space under the eaves. This is great for storing past projects, tools, and extra materials.
Here’s my studio looking West.
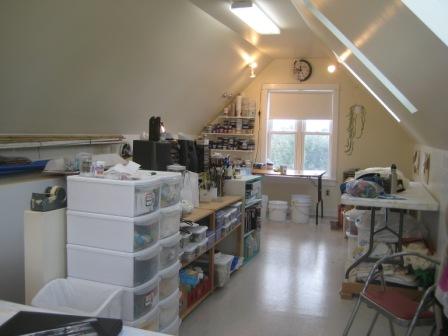
And here the view looking East.

Here’s some of my storage.
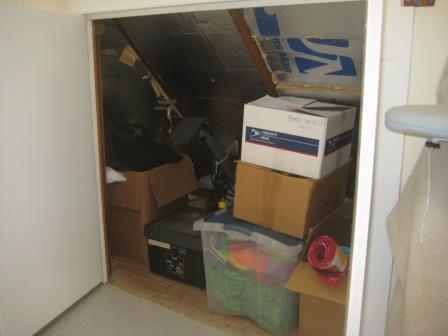
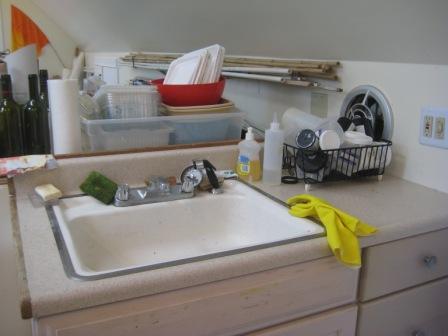
Some of the features I love in my studios are a sink and exhaust fan for mixing dyes, skylights, and a view of the mountains to the West.
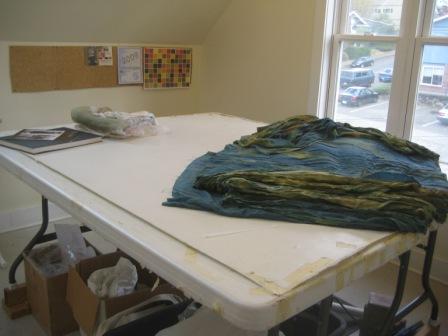
Although the space is divided up, I do have room for a large work area of two six foot tables put together along their length. I use a sheet of vinyl across them to create a smooth(ish) surface. I also have three other tables that I can move around as needed.
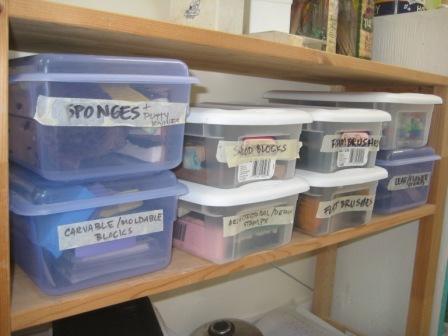
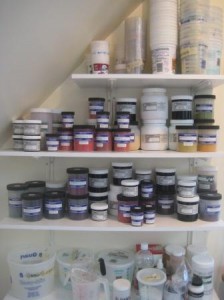
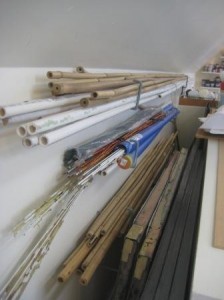
I like to keep my studio pretty tidy. I find I need an uncluttered space to be creative, no collections or decorations to distract me. Here are some of the ways I store my materials.
My home studio is where I do my sewing and also does double duty as a guest room.I have a U shaped work area for sewing and cutting.

I have a design wall that I made using a flannel backed picnic blanket. It’s a little less than ideal but I make it work. The door leads to a small office I share with the family where I can catch up on email, blog, or listen to music.

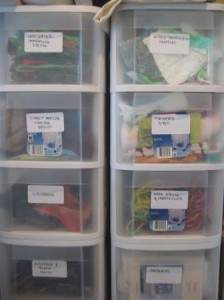
Again, storage is always an issue. Here are some of my solutions.
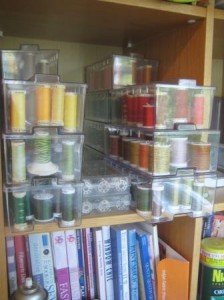
I hope you enjoyed the tour! I admit that I cleaned up a bit for company.
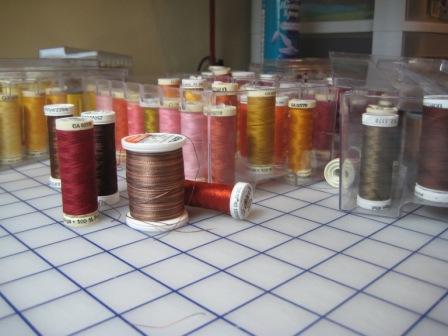 These days I’m just sewing every day. It’s dark, it’s cold, and the deadlines are fast approaching. Above you see my palette for drawing with stitch.
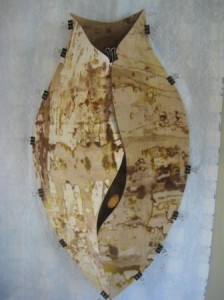
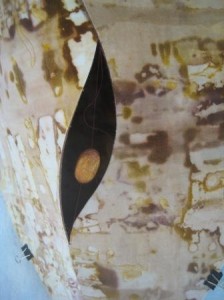
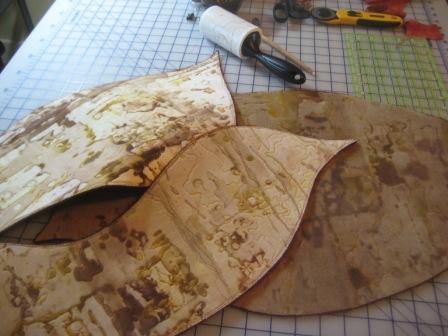
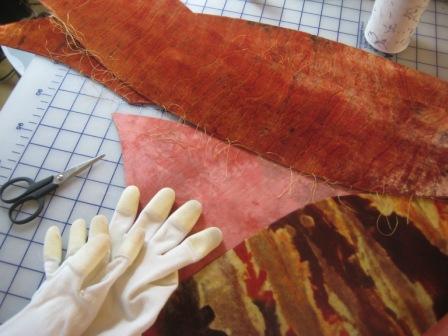 The work for the Foster White show is coming along. Although the show isn’t until February, I need to have all the work finished by the end of December! I’m on track but it has definitely been a push. Good thing I’m motivated by deadlines. I’ve got two pieces finished, and three in progress. My plan is get in the groove and have time to whip three more small free standing pieces done before the end of the year. Here are shots from the first piece in progress.
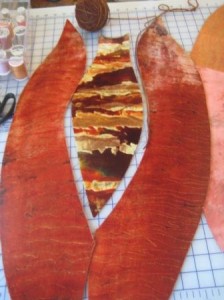
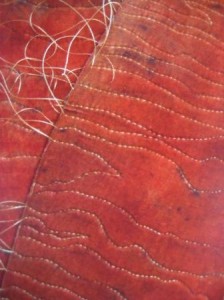
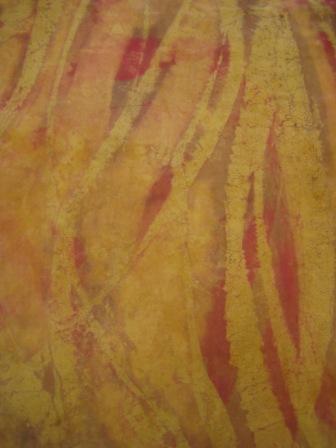
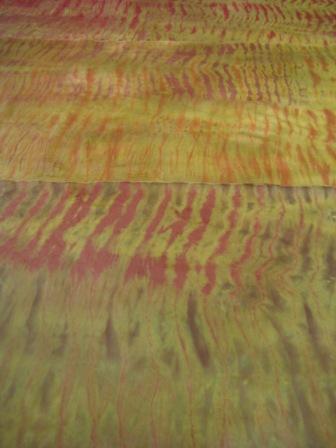
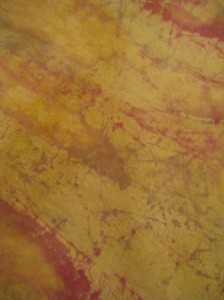
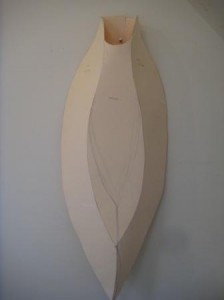
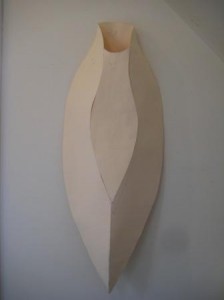
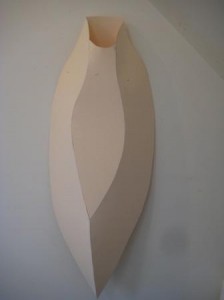
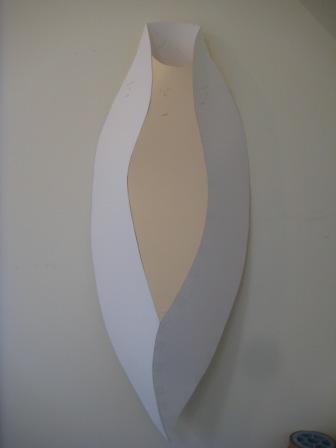
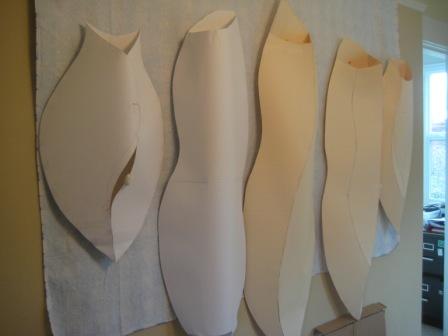
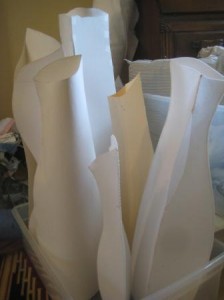 I’ve begun working on forms and fabrics for my new series, as yet unnamed. The Artifacts series is my jumping off point, but the work is also being influenced by the work I did for MadArt. The shape of the figure is still coming through in these forms and the wall forms are much larger than those I made last Winter. Nothing is set yet, no decisions are final, and I’m still living in this unsettled place of creation. Forms are almost there, and I’m auditioning fabrics, so progress is being made but I know I’ll be happier once I start putting my hands on pieces that will become the final product. Until then, it’s time cutting out shapes, dyeing fabric, and head scratching.
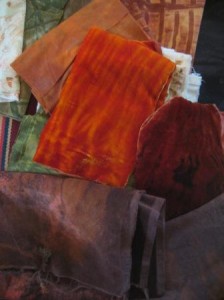
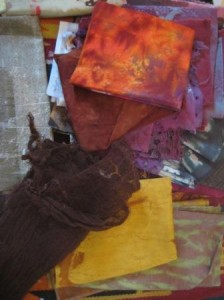

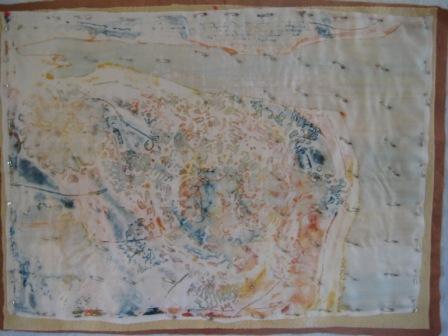
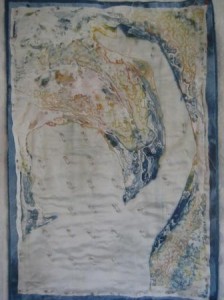 I’ve decided to quilt up two pieces of fabric I printed as part of the series I did for MadArt. (Detail of one above, the full piece to the right. The other piece at the end of this post.) They don’t go with the work I’ve started for the Foster White show but they’ve been calling to me. I don’t think I’ll feel finished with that series until I finish these two pieces.
 I have the extreme good fortune to have two studios, one inside my home where I do all my sewing and one outside the home.


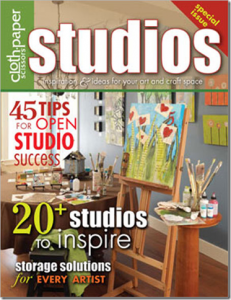 I’m participating in Quilting Arts Magazine’s virtual Open Studio. Click on the link below to reach the website of Studios Magazine. And check back in the next few days to see pictures from my studios.
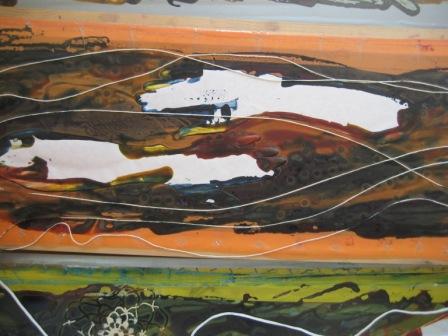
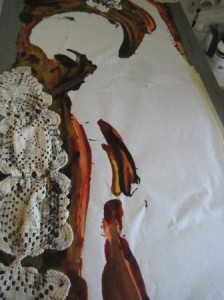 I was invited to be a part of MadArt, a window art project in Madison Park that opened on September 13th. The project matched artists with local businesses to install art in their windows for three weeks. I asked to be matched with Ann Marie Lingerie, a store that sells high end lingerie, because the body of work I visualized was about the figure, women’s roles, and working with form and transparency.
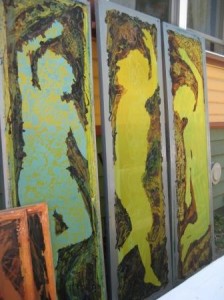 I used the technique of break down printing along with my own twist, using freezer paper as a resist for the image area. This technique gave me the soft and abstracted imagery I was looking for. In working with the female form, I used the most convenient model around, myself. I turned photos into silhouettes which I attached temporarily to the silk screens. I wanted to add more texture to the screens and, looking around the studio, was thrilled to find my stash of doilies. Just the thing to add texture and keep the theme of women’s work and roles.
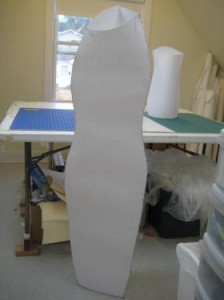
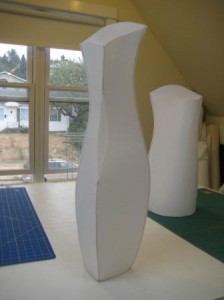
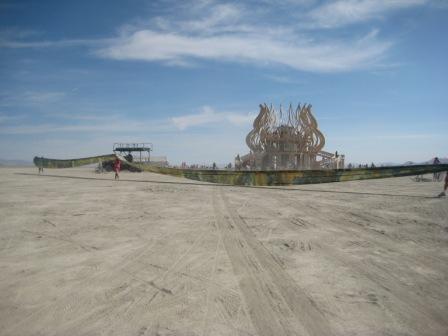
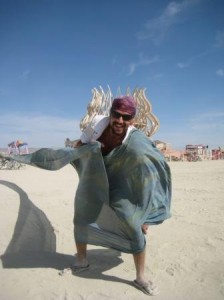
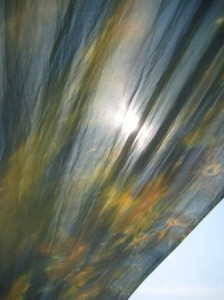
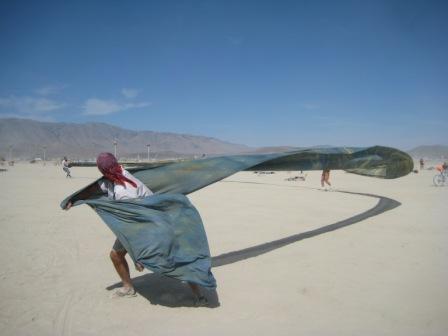 This year was my third trip to Burning Man, the alternative arts festival in the Black Rock Desert of Nevada. One of the precepts of the event is that there are “no spectators” and I’ve wanted to bring some of my work to share. It is a challenging environment for fiber art, very dusty and windy. My previous attempts to bring my work there have been foiled by the strong winds.
