Category Archives: Work in Progress

What Sings?

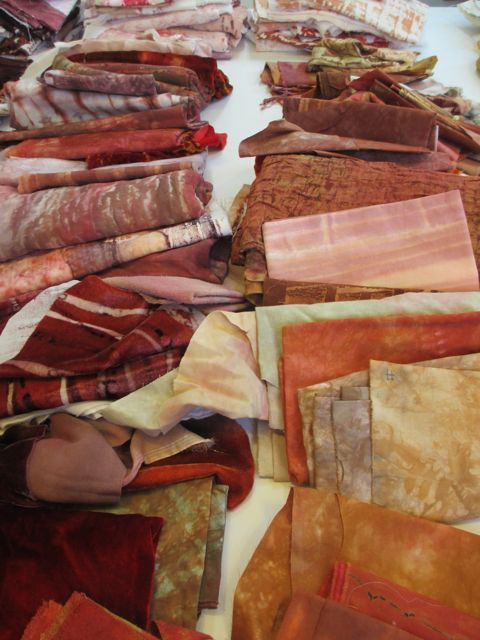
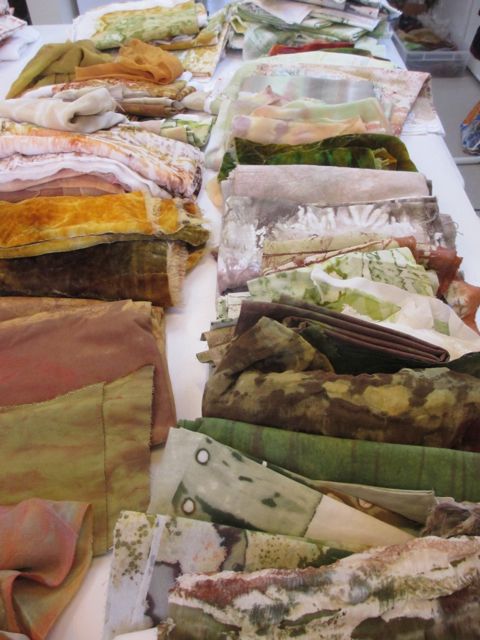
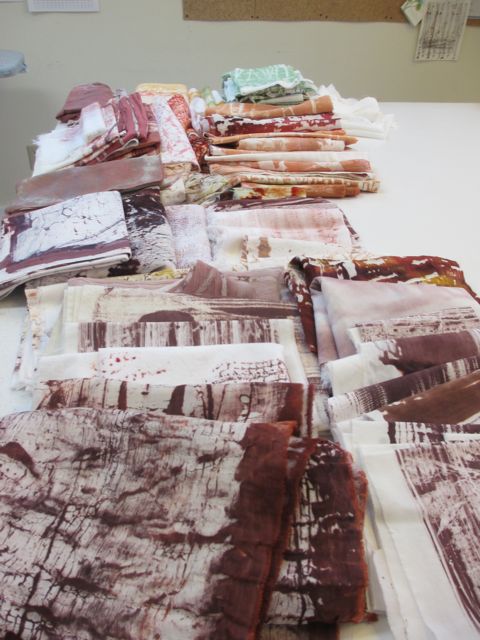
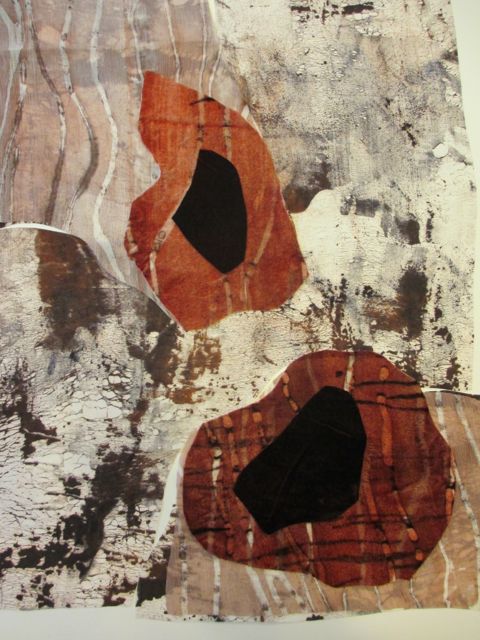
Now that my palette is full of rich and beautiful fabrics I have to make choices. Which work together? Which fabrics support each other without conflicting? Which work within the confines of the available space and give to each other without taking away? And simply, which fit?

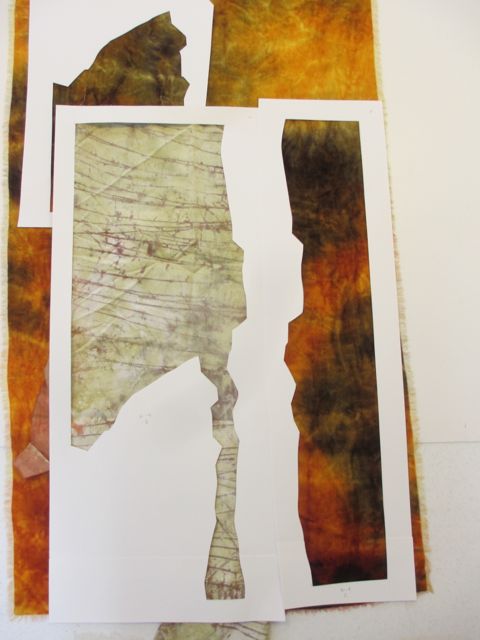
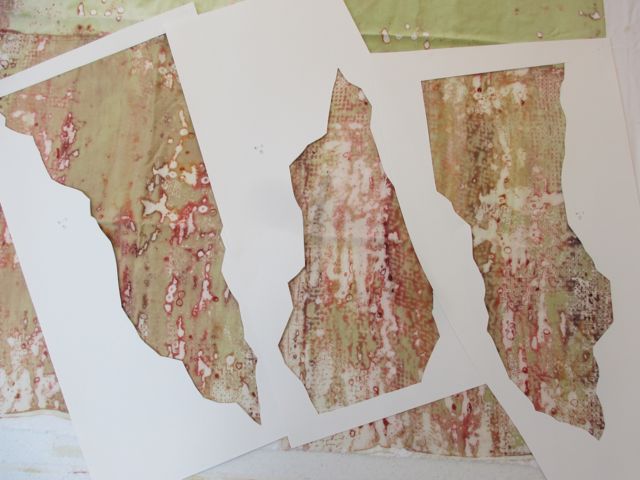
Here are some photos of the fabrics I’m considering for the next set of finished pieces.

Another Dip in the Dye Pot

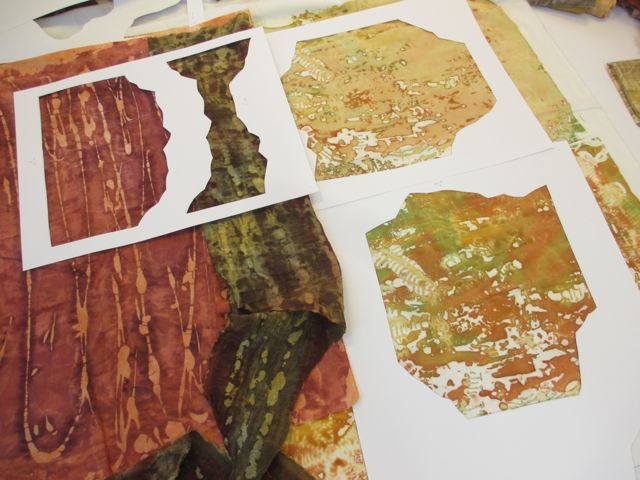
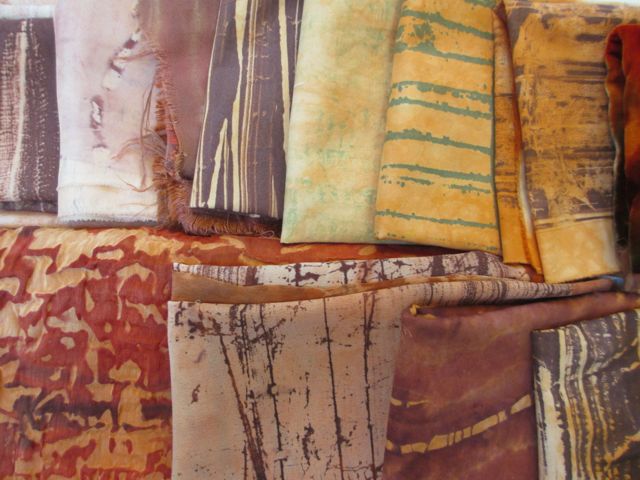
I’m sending a bunch of pieces back to the dye pot to get one more layer of color before I start the final push of constructing the rest of the pieces for my show. This photo is of a number of pieces that were all overdyed with shades of Burnt Orange.

There’s a big batch of mixed colors and fabrics in the dryer right now. I also dyed about 18 yards of muslin for the interiors of the pieces I’m making for the March show. I’ll overdye more today and then I should be finished with dyeing for a while.

Overdyeing is always a risk–I’ve made some bad choices before–but most often the fabrics aren’t usable without another trip to the dyebath. The color either needs a little correction or they have too much white space. What I just put in the dryer looks like a mixed bag–some very nice and a few dogs. I never can tell, though, until they are washed, dried, and ironed.

Pedal to the Treadle

Well I put the pedal to the treadle (!) and got the three pieces I needed for promos done and off to the photographer. I’ve been so immersed in the work that I have no perspective on it at all. I need get a little distance before I can “see” the work in progress. It’s good that I have a plan because otherwise I think I would be wasting time flailing about.

I spent some time today cleaning up the studio. It was grounding to organize my dyes and tidy up. It’s been driving me crazy that I can’t find things. There is just too much stuff in the studio. I have to move one thing out of the way to put another away. It will be very good to start finishing this work just so I can move it out of the studio and get some more floor space.

I pulled quite a bit of fabric from my home stash to add to the newly dyed fabrics. I organized all of it today by color. It helped to see what I already have, what I still need, and what I want to overdye. It helps my state of mind to put these bits of organization into the chaos.

I also took a hard look at the calendar and realized that I just don’t have enough time to finish all the pieces I’ve started for the March show. Sigh. I pulled out all the patterns and eliminated three designs. And who knows, maybe I’ll find time to finish them all. It makes me sad but I know it’s better to commit to doing less better than overstretching and not doing my best work. It’s better to have a smaller, stronger show. I’m still hoping to do at least three free-standing sculptures–even though I haven’t even started them. Long sigh. Better get back to work.

a big pie of fabrics ready for another dip in the dye pot

Deadlines

rough cut fabrics for Madrone 12

I got back from Costa Rica to find that I had missed a big deadline. I was supposed to have professional photos of finished work last month for PR and print for the show in March. Yikes! I have neither images nor finished work at this time.

So I sent off a mea culpa and am nose to the grindstone to get three pieces done ASAP. I should have them for my photographer by Monday or Tuesday and he’s willing to rush them through. So much for any residual relaxation from my trip.

I’m usually really good about deadlines, probably because of my background as a graphic designer, but for this current show I’ve really had my head in the sand. I think it’s because I’ve felt behind from the beginning and haven’t wanted to admit it to myself. However, pretending those deadlines don’t exist isn’t really a good plan. Hopefully, lesson learned on this one.

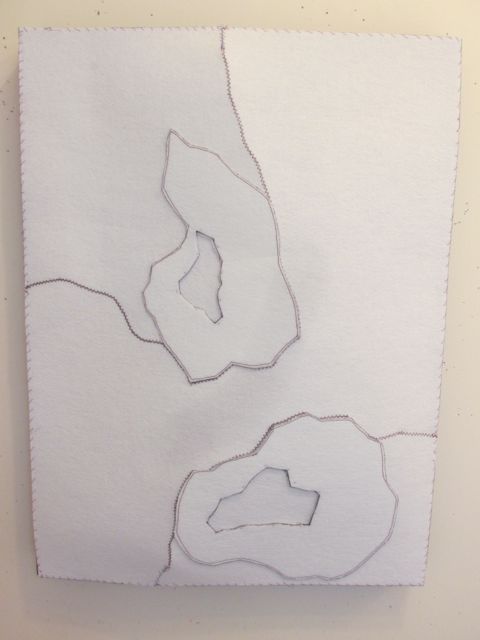
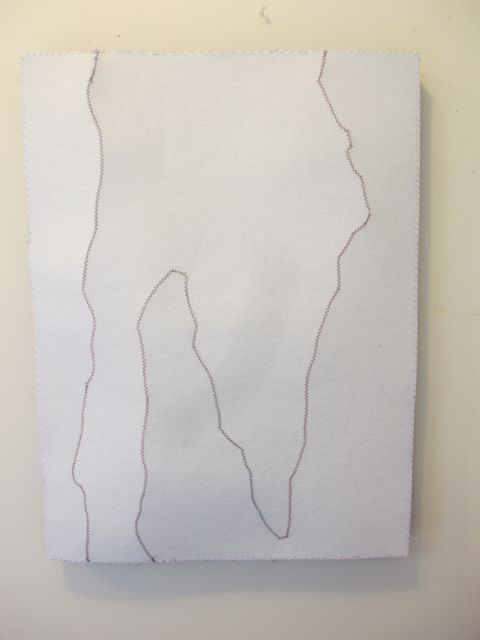
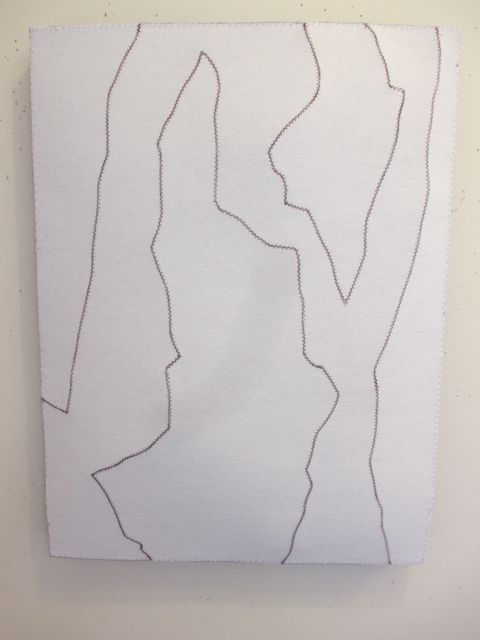
Good thing the work is going well. I’ve got some beautiful fabrics to work with and I think the designs are strong. Here are some photos of the stitched peltex forms before they get “skinned” with fabric.

Madrone 12

Madrone 11

Madrone 14

Flour

thickened dye freshly applied to flour paste resist

One more post before I hit the road for Costa Rica at o’ dark thirty in the morning.

I dyed one last batch of fabrics (8 pieces) using flour paste resist. I did textured rayon, raw silk, pimatex cotton, crepe de chine silk, and a textured linen/silk doubleweave that I love. The flour is such a mess and such a lot of work to wash out but it’s worth it. There’s nothing else that is so simple and yet gives such great organic results.

scraping away the flour with a putty knife

I’ll be back early in January to post some vacation photos and continue documenting my work. Cheers to 2013!

washed, dried and ironed


The Palette

greens

I’m coming to the end of two weeks of intensive dyeing. It’s been deeply pleasurable to dye each day. It’s so much fun to change white fabric into multi-colored and textured pieces of cloth.

Because I’m working in a really specific colorway and I’ve already designed the patterns, these two weeks have been very focused. But even though I was working within narrow parameters I still found a lot of freedom in the work. Some of the sense of freedom is because I’ve been trying new techniques. It’s always exciting to try something new and even better when it is successful. I also used some of my tried and true techniques like breakdown printing and flour paste resist. They still feel new and exciting to me after all these years. Perhaps it’s because there’s a sense of mystery in these techniques. You don’t know what you have until the print is revealed or the flour paste is scraped away.

The palette that I’m working with is based on the colors of the Madrone trees: light green, golden yellow, terra cotta, reds, and dark brown. Surface design techniques I’ve used include direct painting, breakdown and other printing, and flour paste resist. I still need to overdye or paint many of the fabrics to quiet down the white, but I feel very good about where I am now. That’s good because I’m heading off to Costa Rica tomorrow morning!

Following are some photos of the fabrics organized by color.

yellows

reds and browns


Just Another Day in the Dye Studio

breakdown screens drying in front of the heater

Today I printed some of the breakdown screens I set up yesterday. I didn’t get as much done as I had hoped because my intern, Mia, was out sick. It’s amazing how much faster the process goes when you have another set of hands to help out. I did make some progress, though. It’s in the washer now as I post this. More tomorrow . . .

yesterday's dyeing all washed and ironed

printing a breakdown screen

a detail of the wet print


Positive and Negative

I’ve been having a really productive and fun time in the studio. My new technique of producing positive and negative imagery using the “draw through” printing technique not only produces interesting marks but is also easy and fast. I have to hold myself back because I could easily use up every bit of white fabric in the studio.

Here are some photos of the positive and negative prints I made.

And Now . . . Color!

silk scarves

Paper patterns for the new series are done (well, except for a few tweaks here and there) and now it’s time for the fun part: color and fabric!

I had a little trouble getting started. Which colors? Which fabrics? What surface design techniques? And how can I apply what I learned on my mini-retreat and book?

I started by making some silk scarves as gifts. Much less threatening and very useful this time of year. I sewed some chiffon scarves into tubes and then compressed them on to wine bottles before applying dye. Boy were they underwhelming. They just didn’t turn out at all. Luckily, I had also made some silk charmeuse scarves which I folded and clamped using large metal washers. They turned out really cool (see above).

That got me warmed up and yesterday I set up some breakdown screens using cheesecloth, string, fabric, and a table runner. They weren’t dry yet today (I didn’t really expect them to be–it is December). So I added fixative to the rest of the thickened dye I mixed yesterday and did some printing.

break down screens

One of the techniques I used in my retreat was “draw throughs”. It’s a printing technique where you ink up a plate, put paper onto it and then draw on the back of the paper to transfer a design. On my retreat I used it to draw through onto the paper and then also printed the ink left on the plexiglass to get both a positive and negative of the image.

I didn’t actually think it would work with thickened dye. The alginate thickener is so gloppy and slippery and fabric is so absorbent that I didn’t anticipate it would be effective. But I couldn’t know unless I tried it.

I began by using a brayer to spread the thickened dye on a sheet of plexiglass. It didn’t work at all. The brayer just slipped around on top of the dye. I so used a spreader (from the hardware store–I think it’s used to spread grout). It was pretty streaky but since I like an organic look and I’m working with bark imagery, I didn’t mind at all. I laid a piece of fabric on top of the plexi and used a pencil eraser to “draw” on the back of the fabric.

When I pulled off the fabric it looked pretty cool. Then I took a print from what was left on the plexiglass. It also looked pretty cool. I played with that for a while and also used some cheesecloth to make designs.

I was having a blast and I worked back and forth for a while until I realized that, although it was really fun and I liked the effects, I wasn’t actually producing any fabric that was big enough to be usable for my pieces.

Now what? I don’t have a bigger piece of plexiglass. I looked around the studio. Lid from big plastic bin? No, there’s writing imprinted in it. A silk screen? What a mess that would be. Just the table? Mess also. How about the cutting mats I use when I cut with the rotary cutters? Not the front, dye might get into the cracks and then transfer when I was cutting fabric, but what about using the back?

I’m happy to say it worked. The mat adds a texture but the dye actually spreads out pretty nicely. And it was easy to clean when I was done because it’s flexible.

I just got everything out of the washer and threw it in the dryer. What shall I try tomorrow?
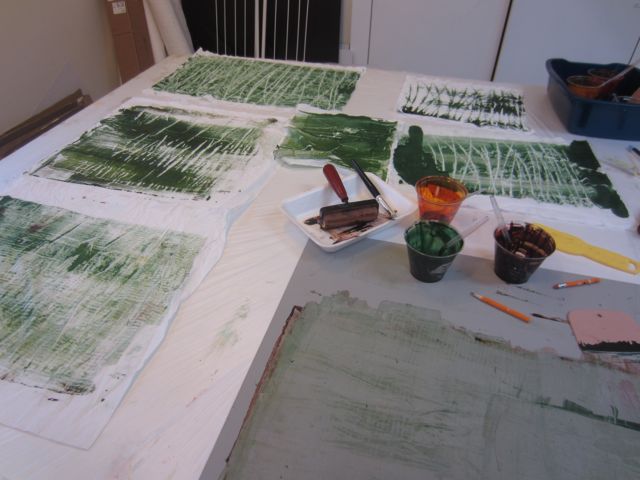
positive and negative imagery


A Milestone

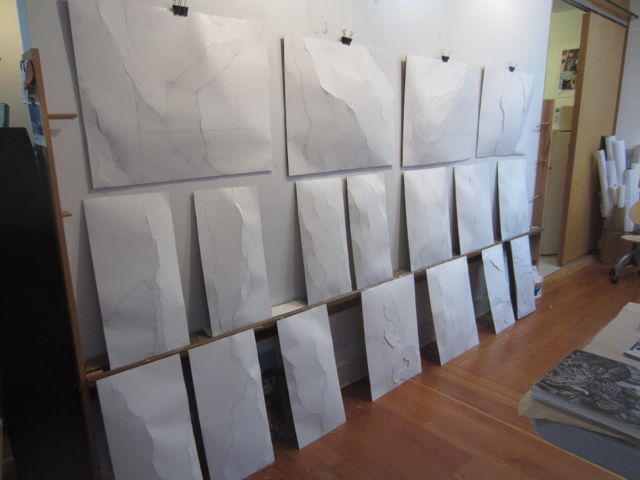
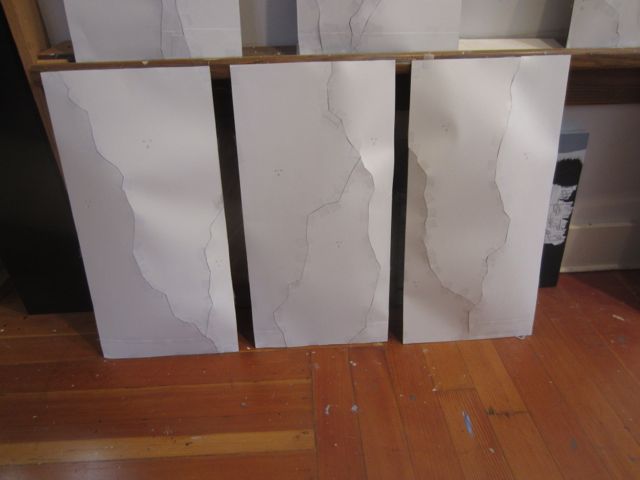
Today I put up the paper patterns for 18 new pieces for the Easelstan studio-mates to take a look at. Pam very kindly let me borrow the big wall in her studio so that we could look at them all together. Not all of the patterns are finalized, I have some minor work to do on five or so of them, but the bulk of the work at this stage is done.

Whew! It’s amazing what a sense of relief I feel.

I also feel a huge sense of accomplishment in getting this far. Even though all we were looking at was white paper, these are the underlying compositions and structures of the finished pieces. They are the bones, the skeleton, of the art that will be. And good bones determine everything.

I feel more confident in the scope of the show and in my process of creating now. I feel energized to move forward.

Now to finish up those last few patterns and on to the dyeing.

a triptych